
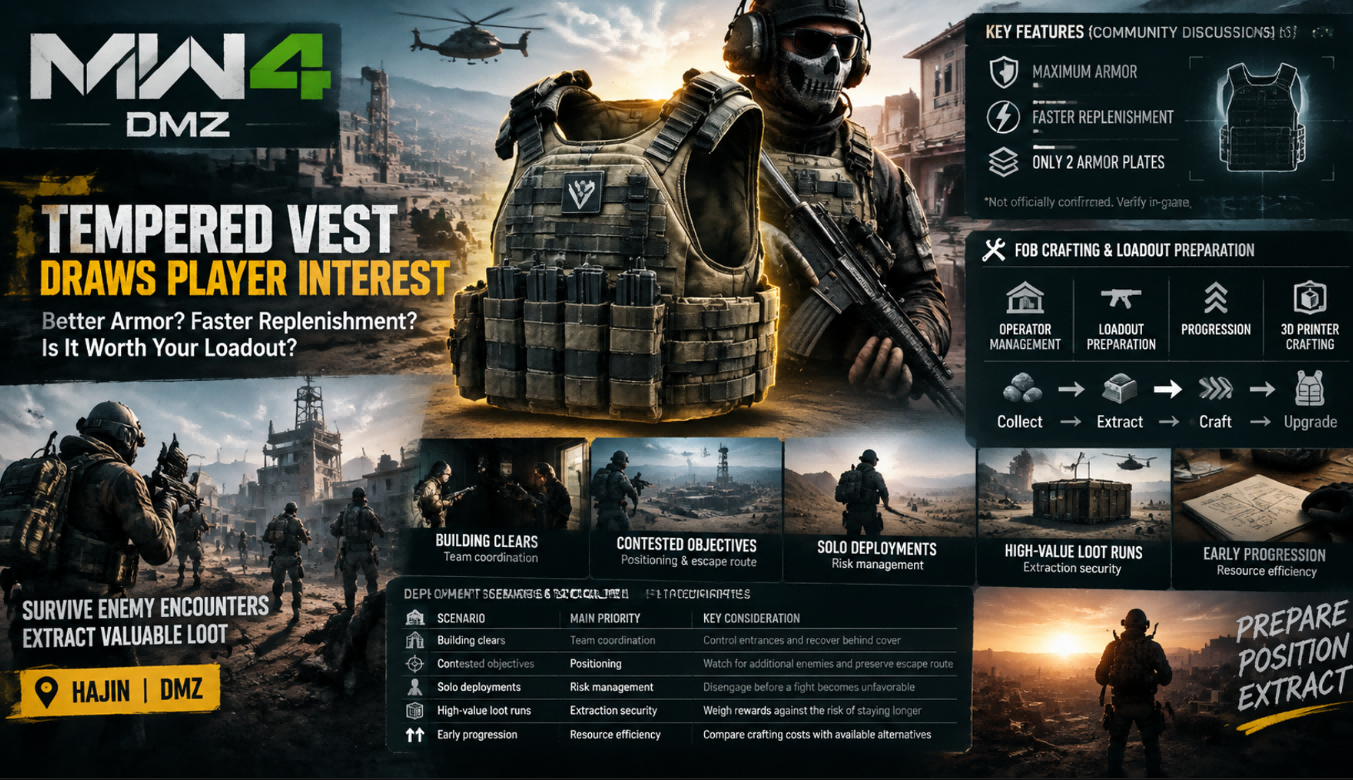
Modern Warfare 4 DMZ puts every deployment in Hajin on a balance between surviving enemy encounters and extracting valuable loot. Alongside searches for CoD MW4 Redeem Codes and launch rewards, equipment choices are drawing attention from players preparing their loadouts. The Tempered Armor Vest has become a point of interest in community discussions about armor efficiency and replenishment. Its potential value comes down to a practical question: how well does it support an Operator through repeated engagements without compromising the rest of the loadout?
Why the Tempered Armor Vest Matters
DMZ rewards careful preparation as much as accurate shooting. Operators enter Hajin to complete objectives, fight AI forces and rival players, collect resources, and extract with their haul. A squad can win a firefight and still lose valuable equipment by taking unnecessary risks before reaching extraction.
The Tempered Armor Vest has appeared in community discussions comparing the new DMZ armor lineup. Players have raised questions about its plate requirements, replenishment behavior, and crafting availability. These details matter because a vest’s usefulness depends on its actual mechanics, not simply its name or reputation from previous versions of DMZ.
Community comments have described the Tempered Armor Vest as offering maximum armor with faster replenishment while requiring only two armor plates. That description provides a useful starting point for discussion, but it should not be treated as a verified specification without supporting in-game evidence. Its precise performance and advantages need to be established before players can reliably compare it with other available vests.
Armor Management During Combat
The value of armor becomes clearer during consecutive engagements. A squad clearing several connected buildings may have little time to recover before another group arrives. Entering the next fight with depleted protection can turn a manageable encounter into a costly mistake.
Building clears reward coordination. One Operator can watch the entrance while another checks the immediate interior, reducing the chance that the entire squad gets caught looking in the same direction. After an exchange, use cover to assess the team’s condition before pursuing an enemy around another corner. A damaged opponent may be tempting to chase, but abandoning a defensible position can expose the squad to another team.
Contested objectives require similar discipline. Gunfire can attract rival Operators, and a fight that begins with a numerical advantage may quickly become unpredictable. Identify an escape route before committing, communicate when supplies are running low, and avoid crossing exposed ground simply to finish an opponent.
Armor selection should support these decisions rather than dictate them. Even an efficient vest cannot compensate for poor positioning, an exposed approach, or a squad that pushes without communicating.
Comparing Armor Priorities Across Deployments
Different missions place different demands on a loadout. A player who regularly clears buildings may value consistent protection between short engagements, while a solo Operator may prioritize avoiding damage and preserving a safe route out.
| Deployment scenario | Main tactical priority | Key consideration |
|---|---|---|
| Building clears | Team coordination | Control entrances and recover behind cover |
| Contested objectives | Positioning | Watch for additional enemies and preserve an escape route |
| Solo deployments | Risk management | Disengage before a manageable fight becomes unfavorable |
| High-value loot runs | Extraction security | Weigh additional rewards against the risk of staying longer |
| Early progression | Resource efficiency | Compare crafting costs with available alternatives |
The Tempered Armor Vest may suit a particular playstyle if its verified mechanics provide a meaningful advantage. However, there is not enough confirmed information to rank it above every alternative. Comparing in-game descriptions, resource requirements, and actual performance is a more reliable way to determine its place in a loadout.
FOB Crafting and Loadout Preparation
Modern Warfare 4 DMZ uses a Forward Operating Base (FOB) as the hub between deployments. Its systems include Operator management, loadout preparation, progression, and the 3D Printer, which supports equipment crafting and FOB upgrades.
The crafting system makes resource management part of the wider deployment loop. Players collect materials in Hajin, extract with valuable items, unlock recipes, and use available resources to prepare for future operations. As progression unlocks additional crafting options, players gain more ways to develop their equipment and improve their preparation.
The Tempered Armor Vest’s crafting requirements deserve attention before valuable materials are committed. If its recipe requires resources that are difficult to replace, an accessible alternative may be more practical during early progression. Spending scarce materials on specialized equipment makes sense only when its benefits justify the cost.
Before committing to a crafting plan, focus on three priorities:
- Verify the recipe: Check the available in-game recipe and required ingredients before spending materials.
- Match equipment to the mission: Choose a loadout suited to aggressive building clears, objective completion, or cautious looting.
- Protect long-term progress: Avoid spending scarce resources on equipment whose benefits have not been established.
This approach keeps equipment decisions connected to the wider DMZ progression system. A squad preparing for repeated PvP encounters may have different priorities from one focused on collecting materials and completing objectives. The most useful loadout is the one that supports the planned deployment without consuming resources needed for more important upgrades.
The Tempered Armor Vest’s Potential Role in DMZ
The Tempered Armor Vest remains an interesting subject for players comparing equipment options in Modern Warfare 4 DMZ. Its potential importance lies in the relationship between armor efficiency and combat tempo, but its actual value depends on confirmed mechanics, crafting availability, and performance during deployments.
For now, reliable fundamentals offer a stronger starting point than assumptions about a single piece of gear. Use cover to limit incoming damage, coordinate pushes, track supplies throughout a raid, and decide when to extract before another fight puts valuable loot at risk. Once the vest’s specifications are established, players can make a more informed decision about whether it deserves a regular place in their loadouts.
A successful deployment depends on preparation, positioning, and knowing when to leave. Players researching launch rewards or looking to buy CoD MW4 Redeem Codes should evaluate those options separately from their equipment choices, since redeem codes do not inherently provide the armor protection or tactical advantages discussed here.